I love the look of pretty french tip nails.

I think they are professional looking and sophisticated all at once.
However, I do love the crazy stuff too!
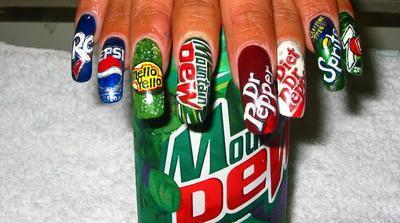
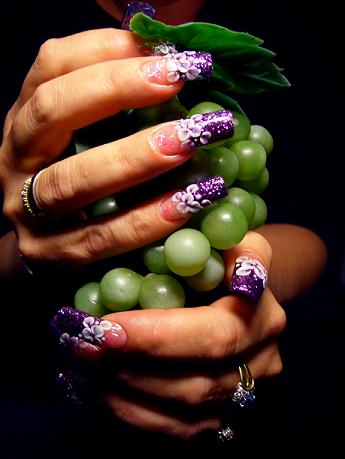

Ok so these are a little too much for moi! But I still think they are cool to look at.
We first start with a nice package of predesigned tips at your local store.

Then you lay them out after you size them to your fingers.
Make sure the tip covers your entire nail.


You need to take a rough file and scuff up your natural nails.

They should look like this:

You then need to prime your nails.
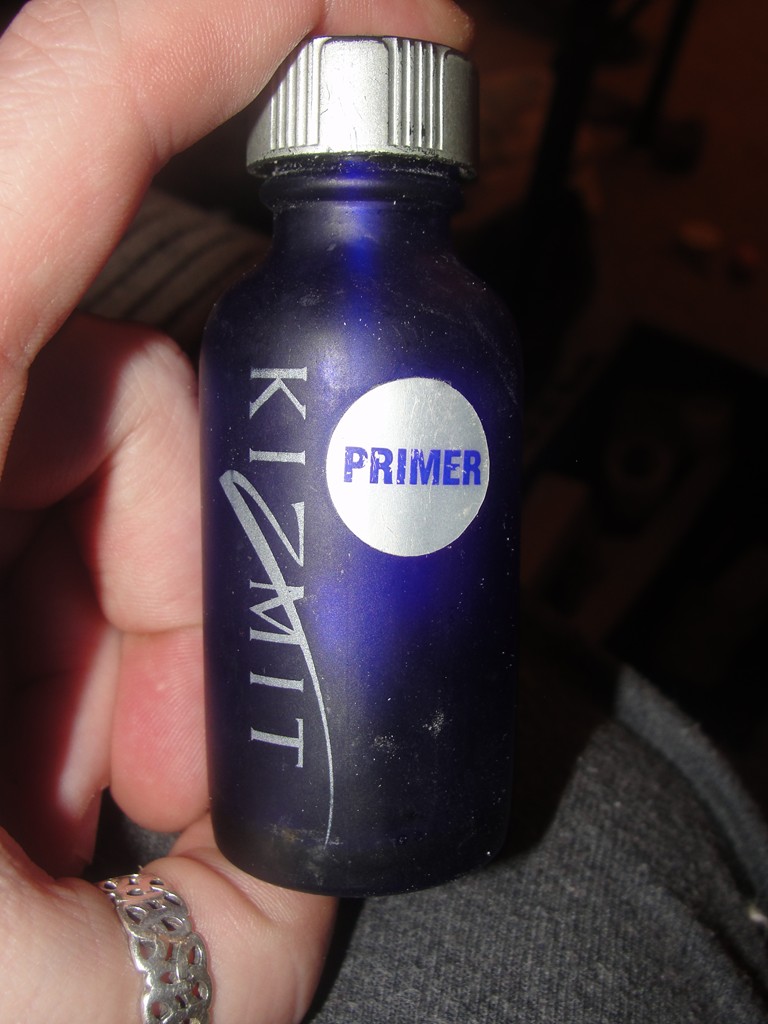
There is a primer in the kit you buy at Wal-Mart.
But the kind shown here is at Sally's Beauty Supply.

There is also a liquid and powder in the kit from Wal-Mart

I have some from Sally's I have been using.

Next you need to fill your little cup.

Then you take the brush and dip it in the liquid and then into the powder.

Place this on the inside of the tip. It will be a runny substance.
This is how it should be. Then set brush down and press the tip on your natural nail.

Hold and count to 50. I usually have some squeeze out the top.
I then take the plastic end of the brush and swipe it out before it hardens.

This is how they look.
They should last at least 2 weeks just like when you go to the salon.
Initial cost for kit is around $10 -$15 bucks
And it lasts for what seems like ever.
Then you only have the $5 dollar cost every time you change your tips.

They are way more sturdy than putting them on with the glue!